Academic Calendar
Setup Data: Events
This page describes the Events tab of the Setup Data form
It is easy enough to enter events is your own Outlook Calendar. The advantage of entering them here is that, if you then use any of the ways that ACal offers to create appointments in the calendars of all or selected staff they can all have the same events in their own calendars with minimal effort.
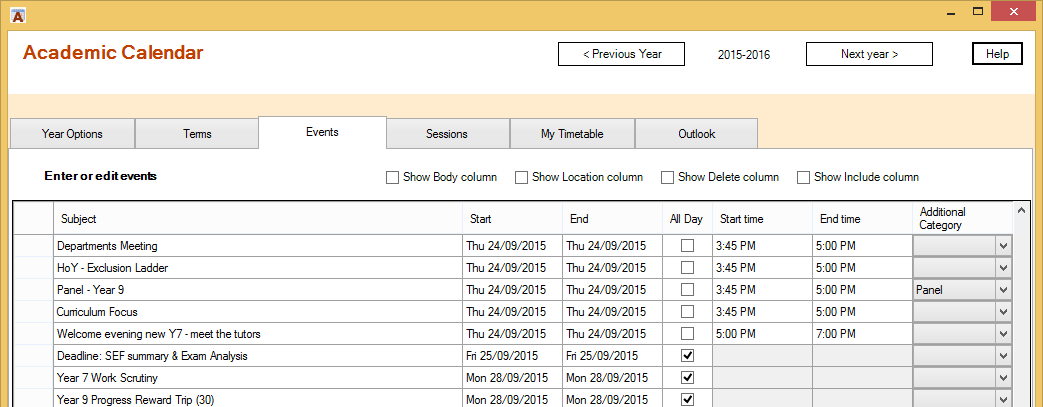
By default the gird contains seven columns
Subject, Start data and End date must be entered.
All-Day
When you create a new entry the column for All Day is ticked and the Start and End times are greyed-out to show they are not available. If you un-tick the box then the Start and End Time boxes are enabled.
ACal will ensure that the end time does not come before the start time and will enter, as a default, the last start or end time you entered. This is useful if you are entering a series of meetings.
Additional category
When you create Outlook appointments for Events ACal automatically creates a category called “Events” and the name of the academic year, for example “Events 2013-2014”. This enables you to quickly see all events using the By Category View button on the ACal ribbon. If you want to add an additional category you can select from the drop-down list.
The list contains the categories currently defined in your Outlook data.
At the top of the list is *New Category. The star is there so that when the category list is sorted *New Category comes at the top of the list.
Optional columns
Tick boxes above the grid enable you to show or hide additional columns that are useful in particular circumstances.
Body
The allows you to enter text that will appear in the body or notes section of the appointment.
Location
This allows you to make an entry for the appointment’s location.
Delete
If this column is ticked the appointment will be deleted if it already exists. If it does not exist it will not be created. This is very useful when sending out amendments to calendars to other staff
Include
When you create a new event this column is ticked by default. When appointments are created only ticked items will be included. This provides a mechanism to create entries selectively. For example, you might distribute calendar data with every single event included to members of the senior leadership team but not want to clutter the calendars of other staff with the details of the SLT meetings. Accordingly you could un-tick the SLT meetings before sending the data to other staff and these meetings would not be entered in their calendars.
Ticking Include also reveals another tick box that enables you to tick or un-tick all the items in the grid in one go.
Working with a grid
Icons
The grid has a grey margin down its left hand side.
|
|
A right-facing triangle in the margin indicates the current row. |
|
|
When you start to enter or edit a grid row a pencil icon appears in the margin. |
|
|
A star in this margin means that the row next to it is available as a new row. This will always be at the bottom of a grid below the other rows. To start a new row just click or move to this row and any defaultentries will appear. You can accept or change them. If the row with a star is not visible just scroll to the bottom of the grid. If it is not that then you are not allowed to add a new record. |
Moving around
Use the Tab key or the Right Arrow key to move to the next cell in the grid.
Deleting a row
To delete a row click the grey margin to its left. The whole row will highlight to show it is selected. Press the Delete key on the keyboard and the row is deleted.
Sorting
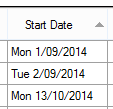 |
In some girds the records are in the order they are entered but in many cases it is more sensible for them to be sorted.In this image the triangle in the header of the Start Date coolumn indicates the the records are sorted on the start date. If you enter a new record it will jump to the correct place in the sorted list.In some case you can click on a column header to sort the gird by that column. If you click a second time the sort direction reverses. |