Academic Calendar
Managing Many Calendars: Delete Appointments
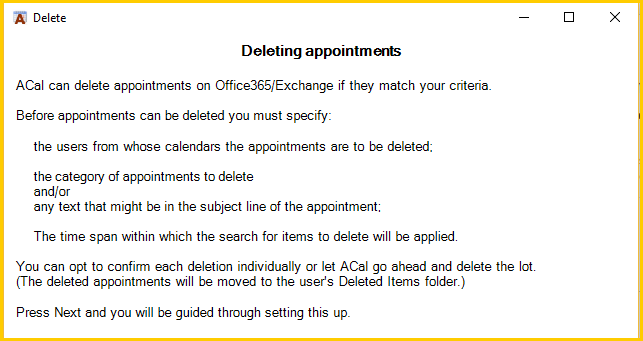
This page describes the first screen of the Manage Many Calendars: Delete Appointments wizard.
The first page of the Delete Appointments wizard shows a general description of what the wizard does.
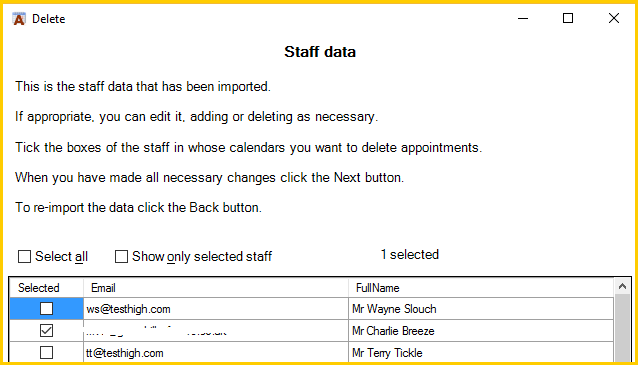
Clicking Next takes you to the page where you can select the staff
Once you have select the relevant staff and clicked Next you are taken to the page where you can select which appointments to delete.
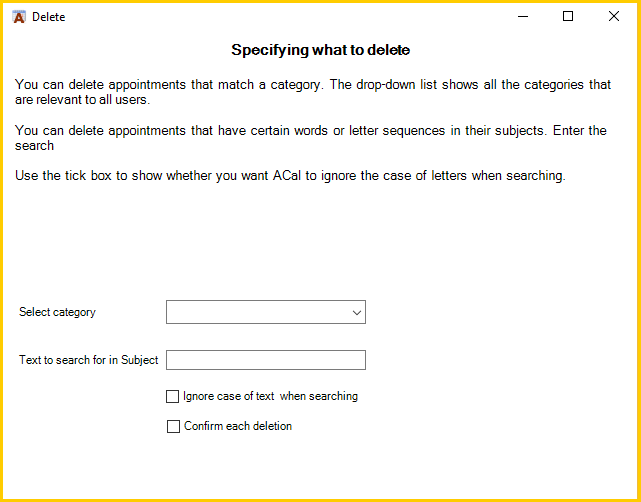
You can opt to delete appointments that have a particular category by selecting the relevant category from the drop-down list.
You can also select appointments to delete on the basis on their subject line. Enter text in the Text to search for in Subject box and ACal will delete all appointments in the selected time span which have the text you entered somewhere in the subject line. Note that, by default, the search will be case-specific – if you search for ENG then 11-ENG-A will be found but 11-Eng-A will not. Ticking the checkbox to Ignore case of text when searching will ensure both are found.
Ticking the box to confirm each deletion can be useful if you are not sure what the results of your search specification will produce. You will be shown the details of the appointment and be asked to confirm whether it should be deleted. Once you are happy that the correct items are being deleted click the Cancel button in the confirmation dialog and then start the search again with the Confirm box in-ticked. NB The order in which the appointments are presented is determined by Outlook and may not be in date order.
If you select a category AND you enter search text ACal will delete appointments that match either criterion, i.e. that have the matching category OR have the search text in the appointment’s subject line.
ACal will remember the choices you have made and the text you have entered.
When you click Next you will be able to set the date range within which to delete appointments.
The page following that will ask you to confirm all the parameters you have set before connecting to Office365/Exchange and carrying out the deletions.


