Academic Calendar
Managing Many Calendars: Creating appointments by email
This page describes the final phase of the Managing Many Calendars wizard when the user has chosen “Create Appointments and then selected the “Deploy data by email” option.
This feature operates like a full-strength version of the more limited “Send Data to a Colleague” feature.
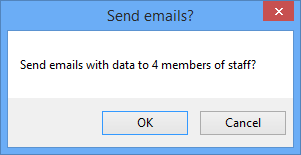
The last screen of the wizard presents a simple message and when you click the button to Send Emails the wizard closes. A message asks you to confirm or cancel the sending of the emails.
If you click OK ACal creates an email for each member of staff you have selected and attaches one or two attachments according to the options you selected at the start of the wizard. One contains the term dates and events you have set up and is the same for everyone. The other contains the timetable data and is unique to each user.
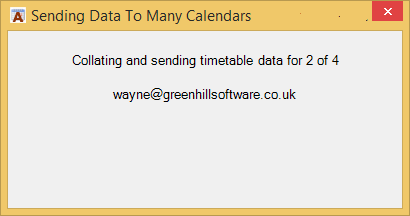
A progress window lets you know as each email is sent.
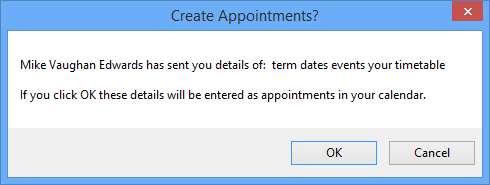
On the receiving staff member’s computer ACal monitors the incoming mail and when it detects that the message and attachments which the wizard has sent have arrived it asks the user’s permission whether or not to create appointment based on the data.
This can include Term Dates, Session times, Events and/or Timetable depending on the choices the sender made on the wizard.
Note that it may take a few minutes to create all the appointments. They may not show up in Calendar View straight away if the folder is being update. It will show up in By Category View straight away.
Term Dates, Session Times and Events are in the file ACalData.mxl and the timetable details are a file such as in MyTimetable2014.xml which bears the name of the academic year concerned.


